Create a schema
A schema describes the shape of your data — the fields a record has, what they mean, and which one identifies the customer. Creating a schema lets Pulse validate what comes in, store it cleanly, and build it into customer profiles. You assemble a schema from reusable building blocks, so it takes minutes, not hours.
This guide walks you through creating your first schema.
Before you start
A schema works hand in hand with a dataset — the schema describes the data, the dataset holds it. You'll usually create a dataset from your schema at the end of this guide.
Open the schema list
- Sign in to Pulse at pulse.azothedge.com.
- In the left navigation, under Data, select Schemas.
- You'll see all of your existing schemas and when each was created.
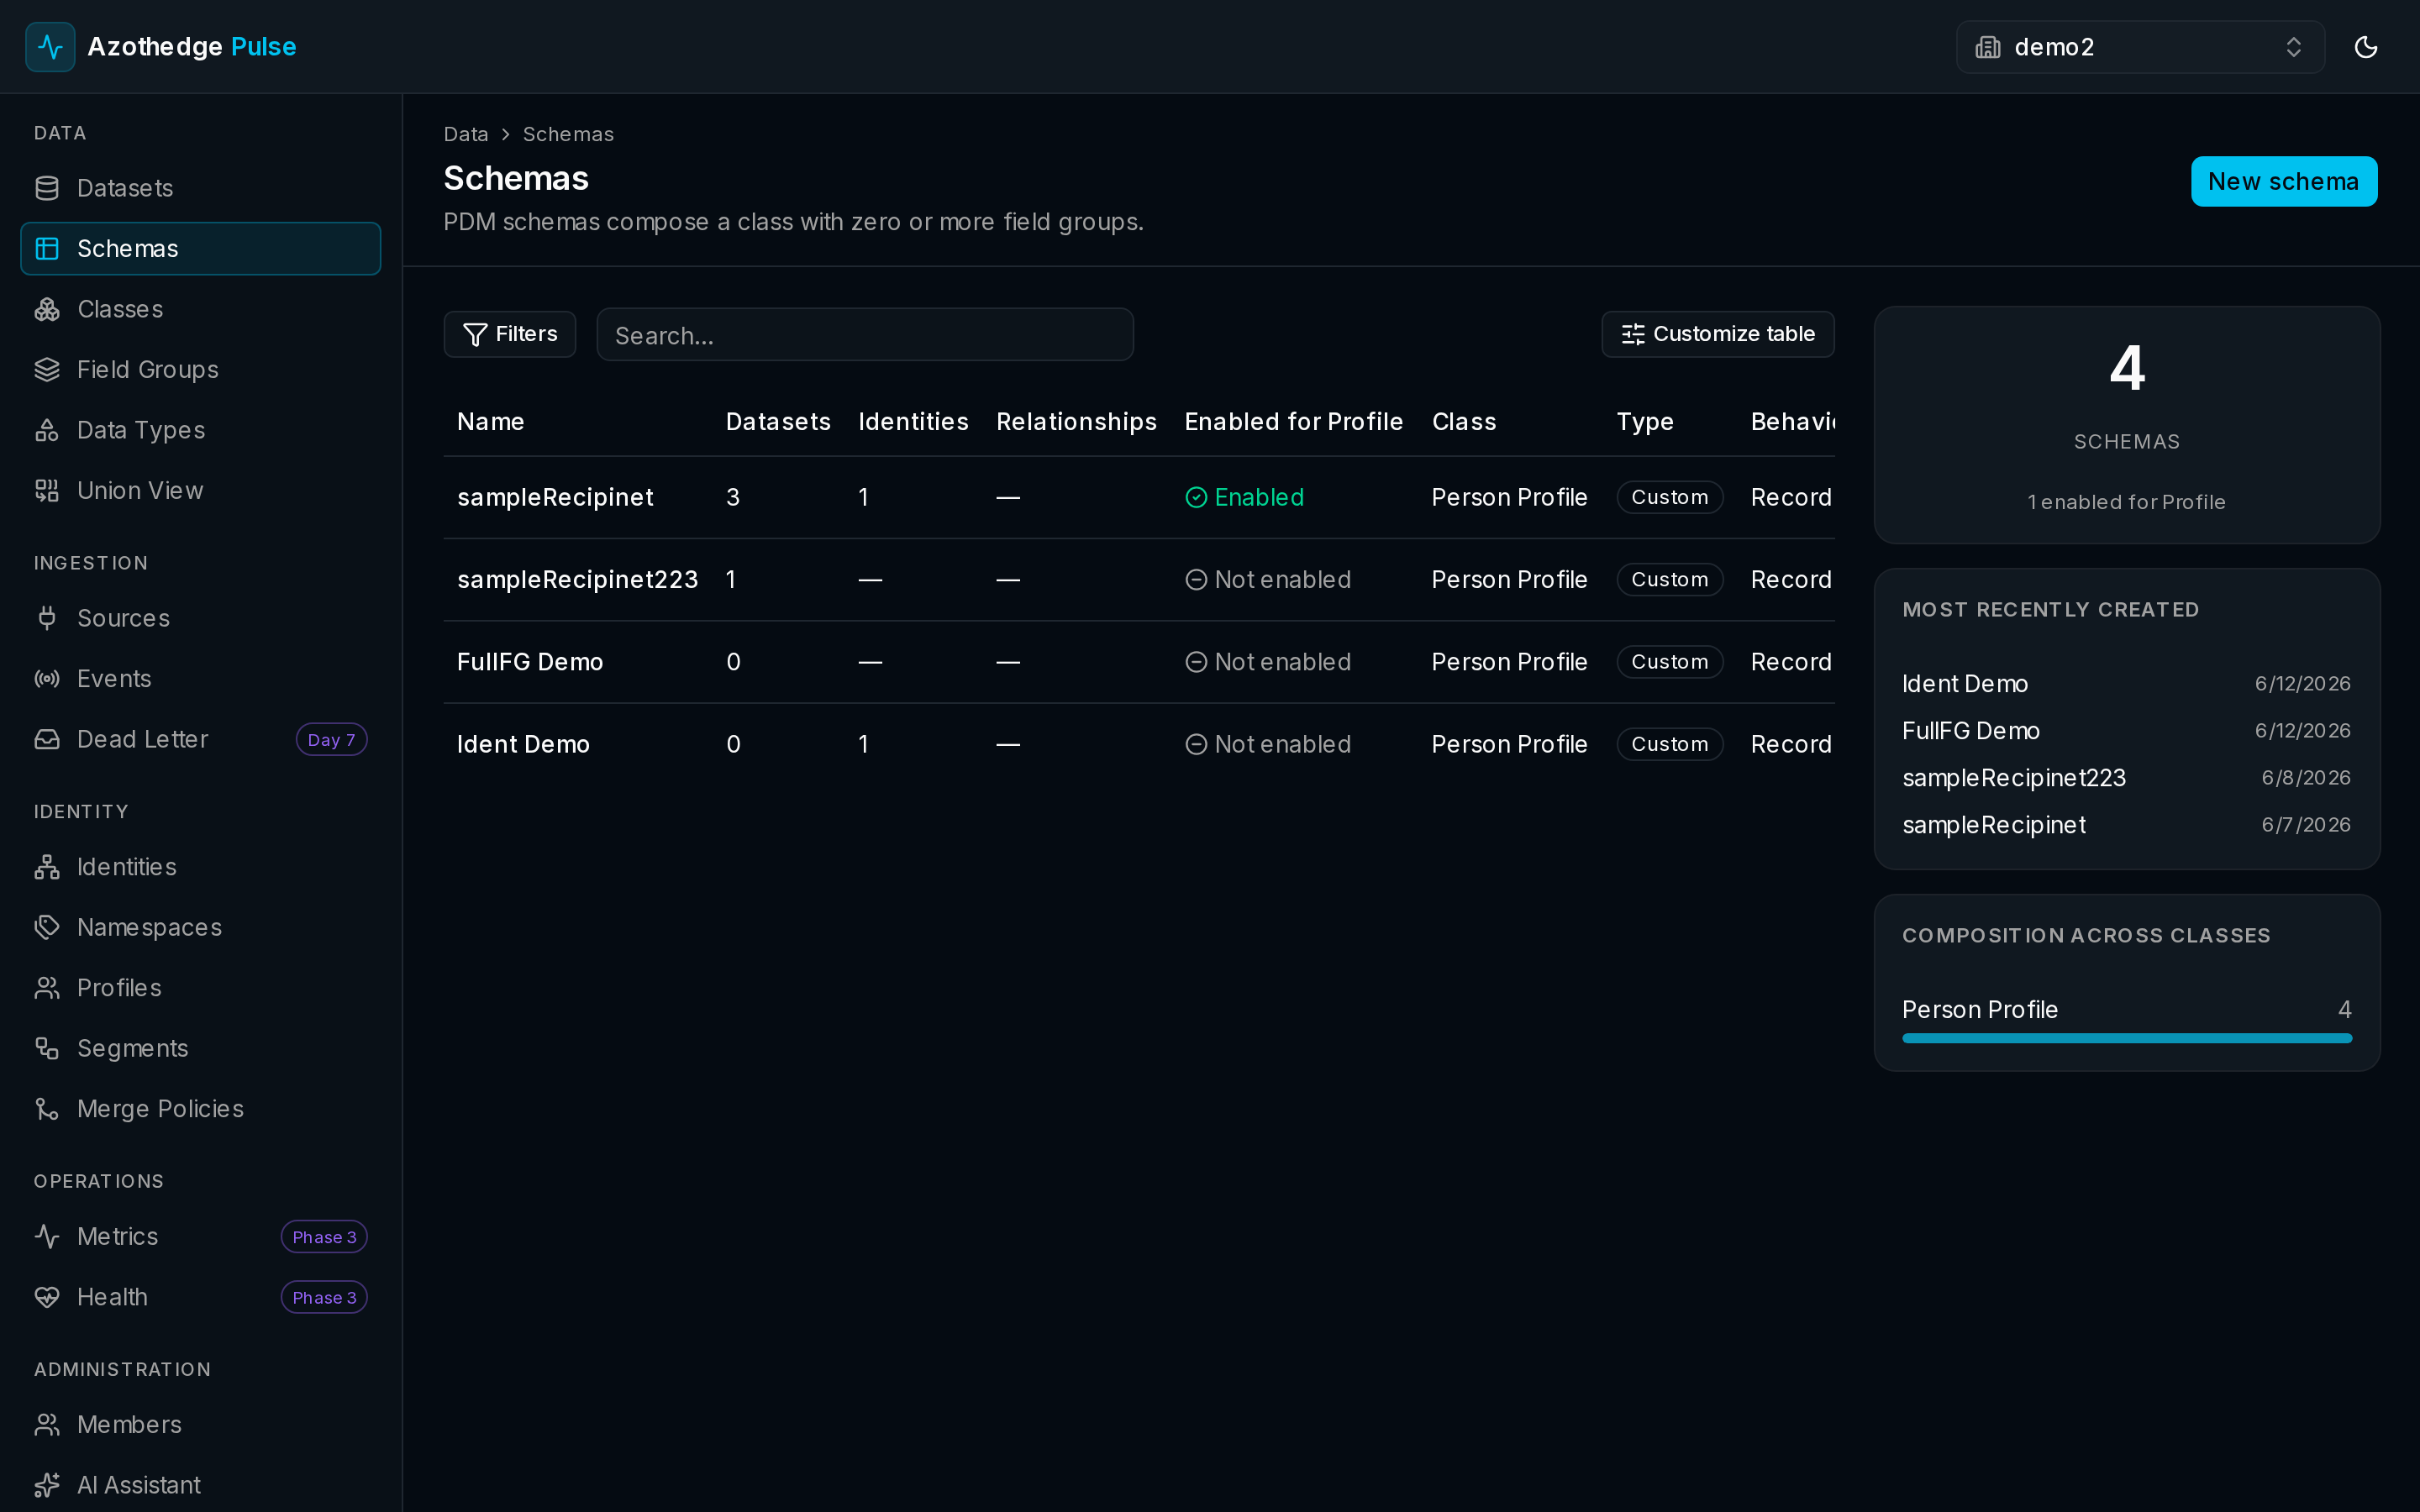
Start a new schema
- Select New schema.
- Give it a clear Name — for example, Loyalty members or Website events.
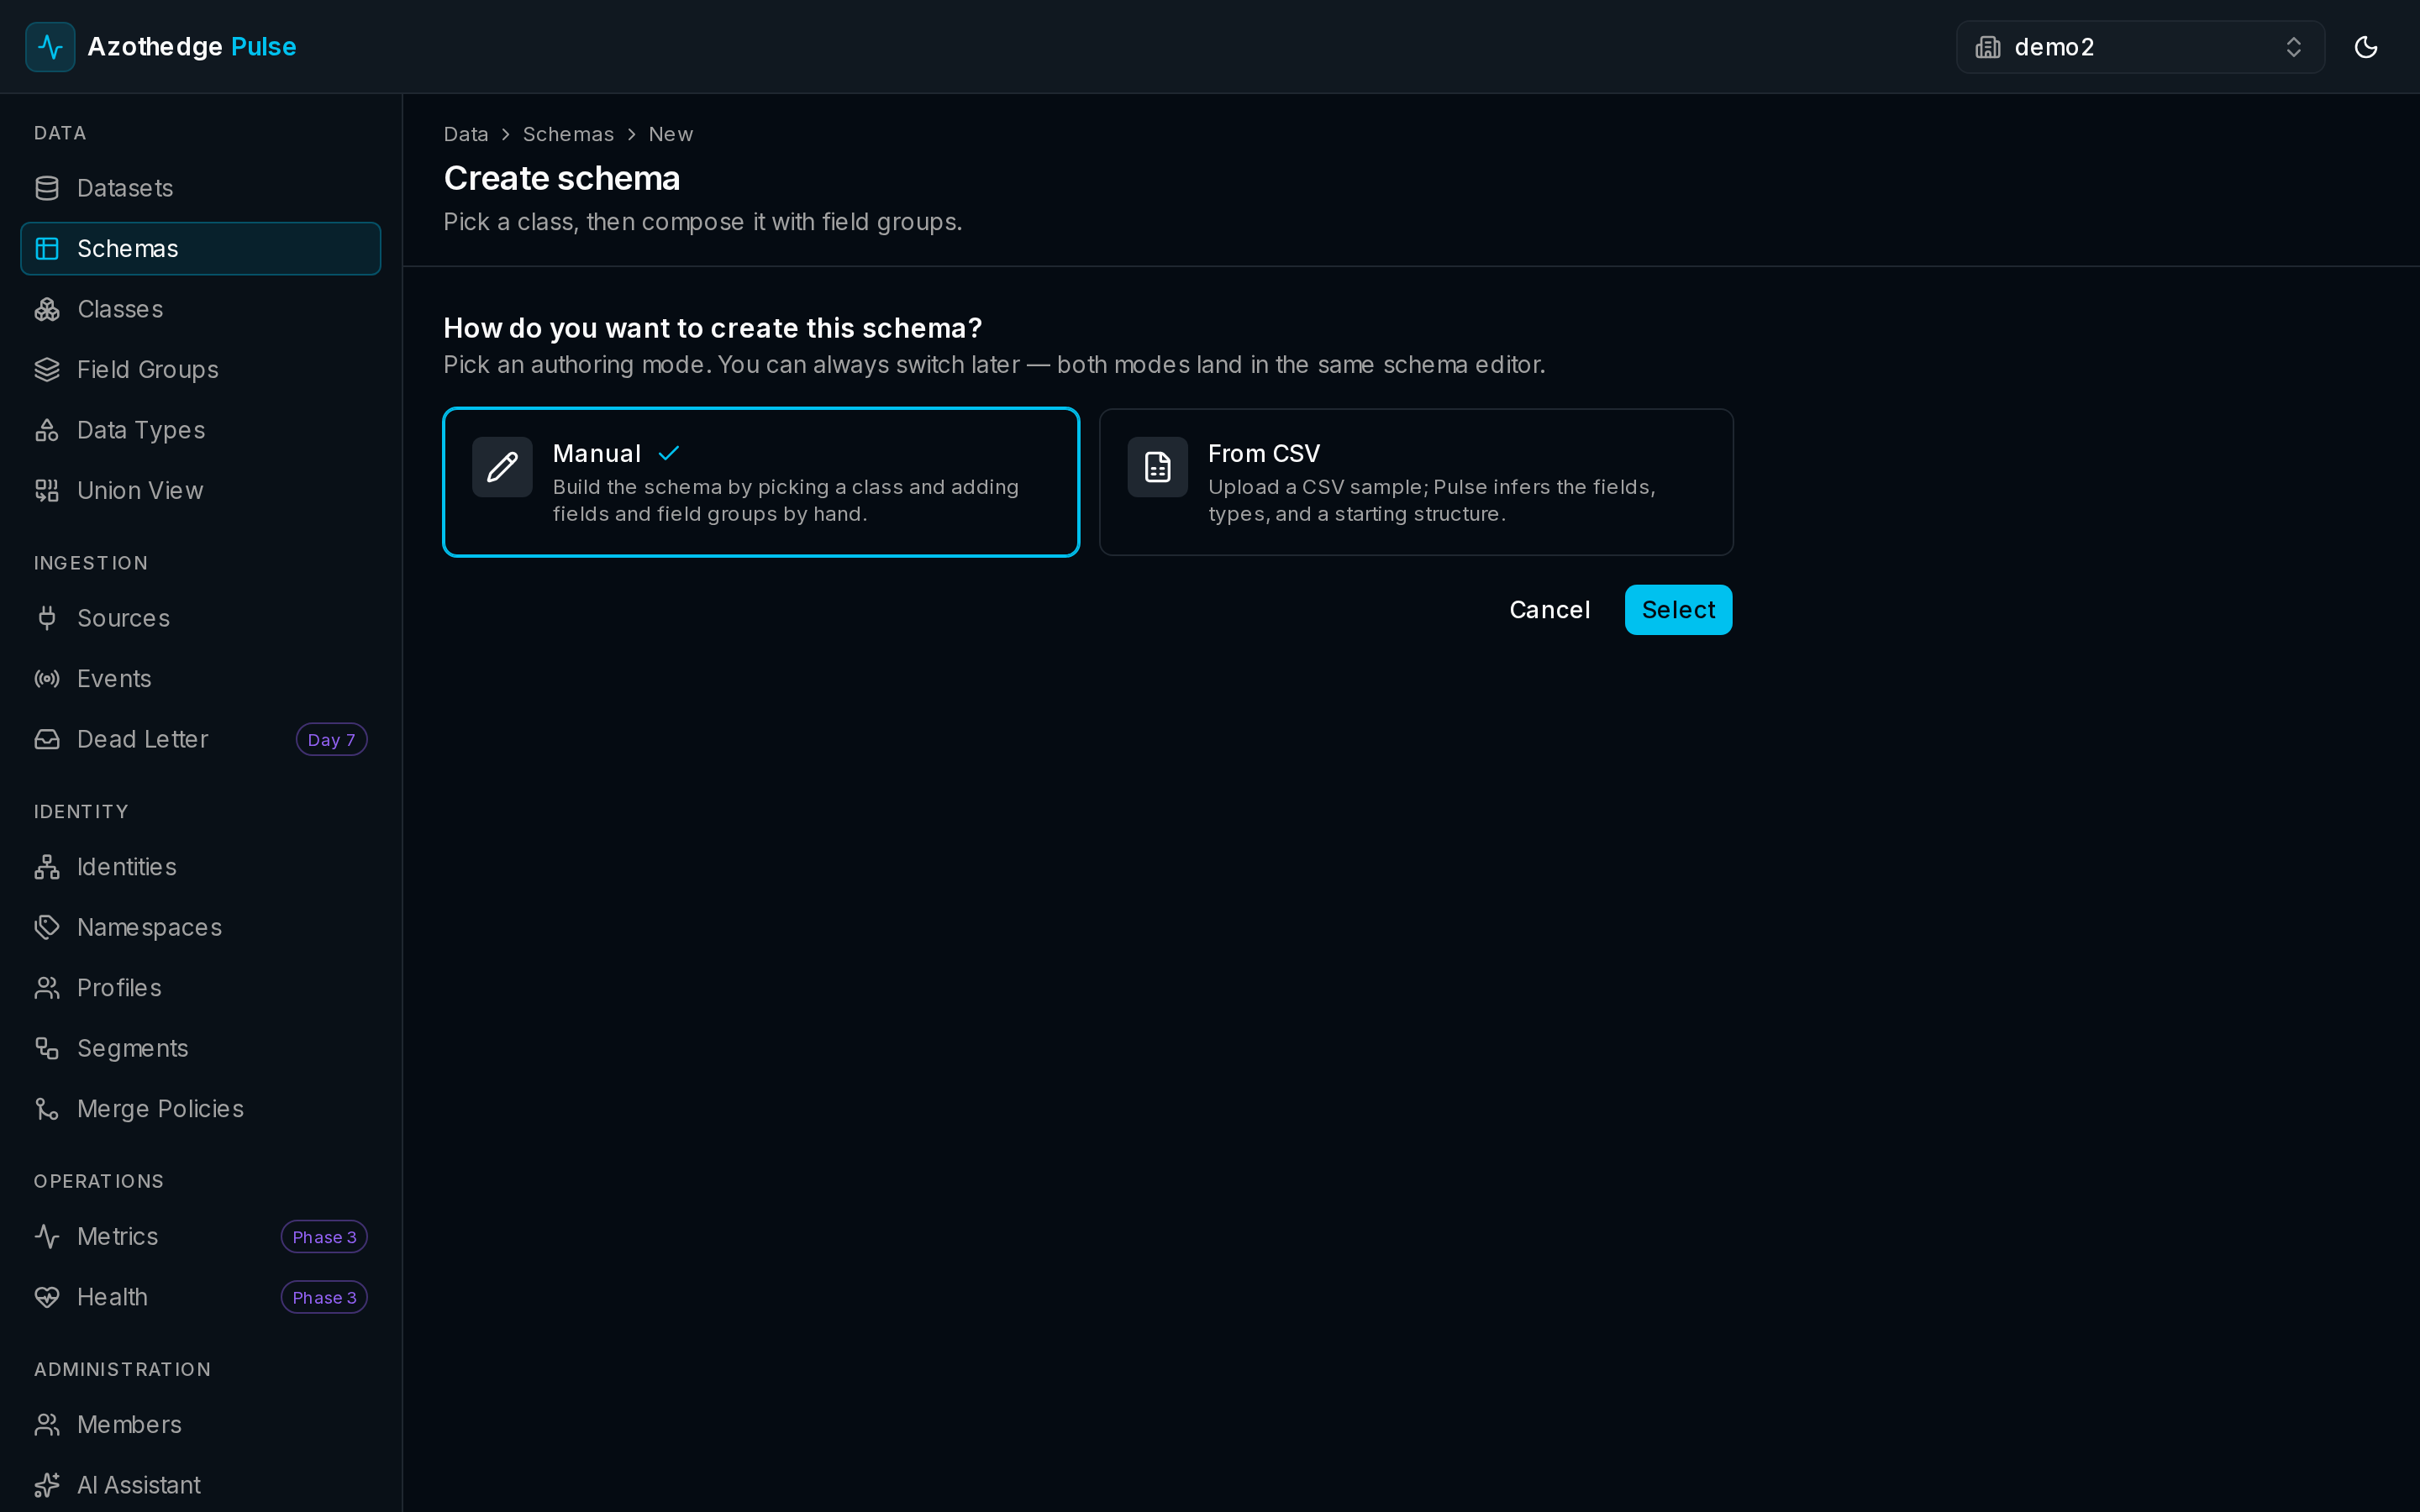
Choose a class
A class sets the foundation for what your schema describes. Pick the one that fits:
- A person or profile class for records about people — customers, members, contacts.
- An event class for things that happen — purchases, page views, support tickets.
Choosing a class gives your schema a sensible starting structure.
Add field groups
A field group is a reusable bundle of related fields — for example, a contact-details group or a purchase-details group. Adding field groups is the fastest way to build a complete schema.
- Add one or more field groups that match the data you're bringing in.
- Browse the ready-made field groups under Field Groups in the left navigation to see what's available — Pulse ships with many for common business needs.
Reuse before you build
Look for an existing field group before adding fields by hand. Reusing them keeps your data consistent across schemas and saves you time.
Add your own fields
If you need something the field groups don't cover, add your own fields directly. Give each a clear name and choose the kind of value it holds — text, a number, a date, and so on.
Mark the identity field
Every schema about people needs one field that identifies the customer — for example, an email address or a loyalty ID. Marking it tells Pulse how to recognize the same person across your data and link their records into one profile.
- Select the field that uniquely identifies the customer.
- Mark it as the identity field.
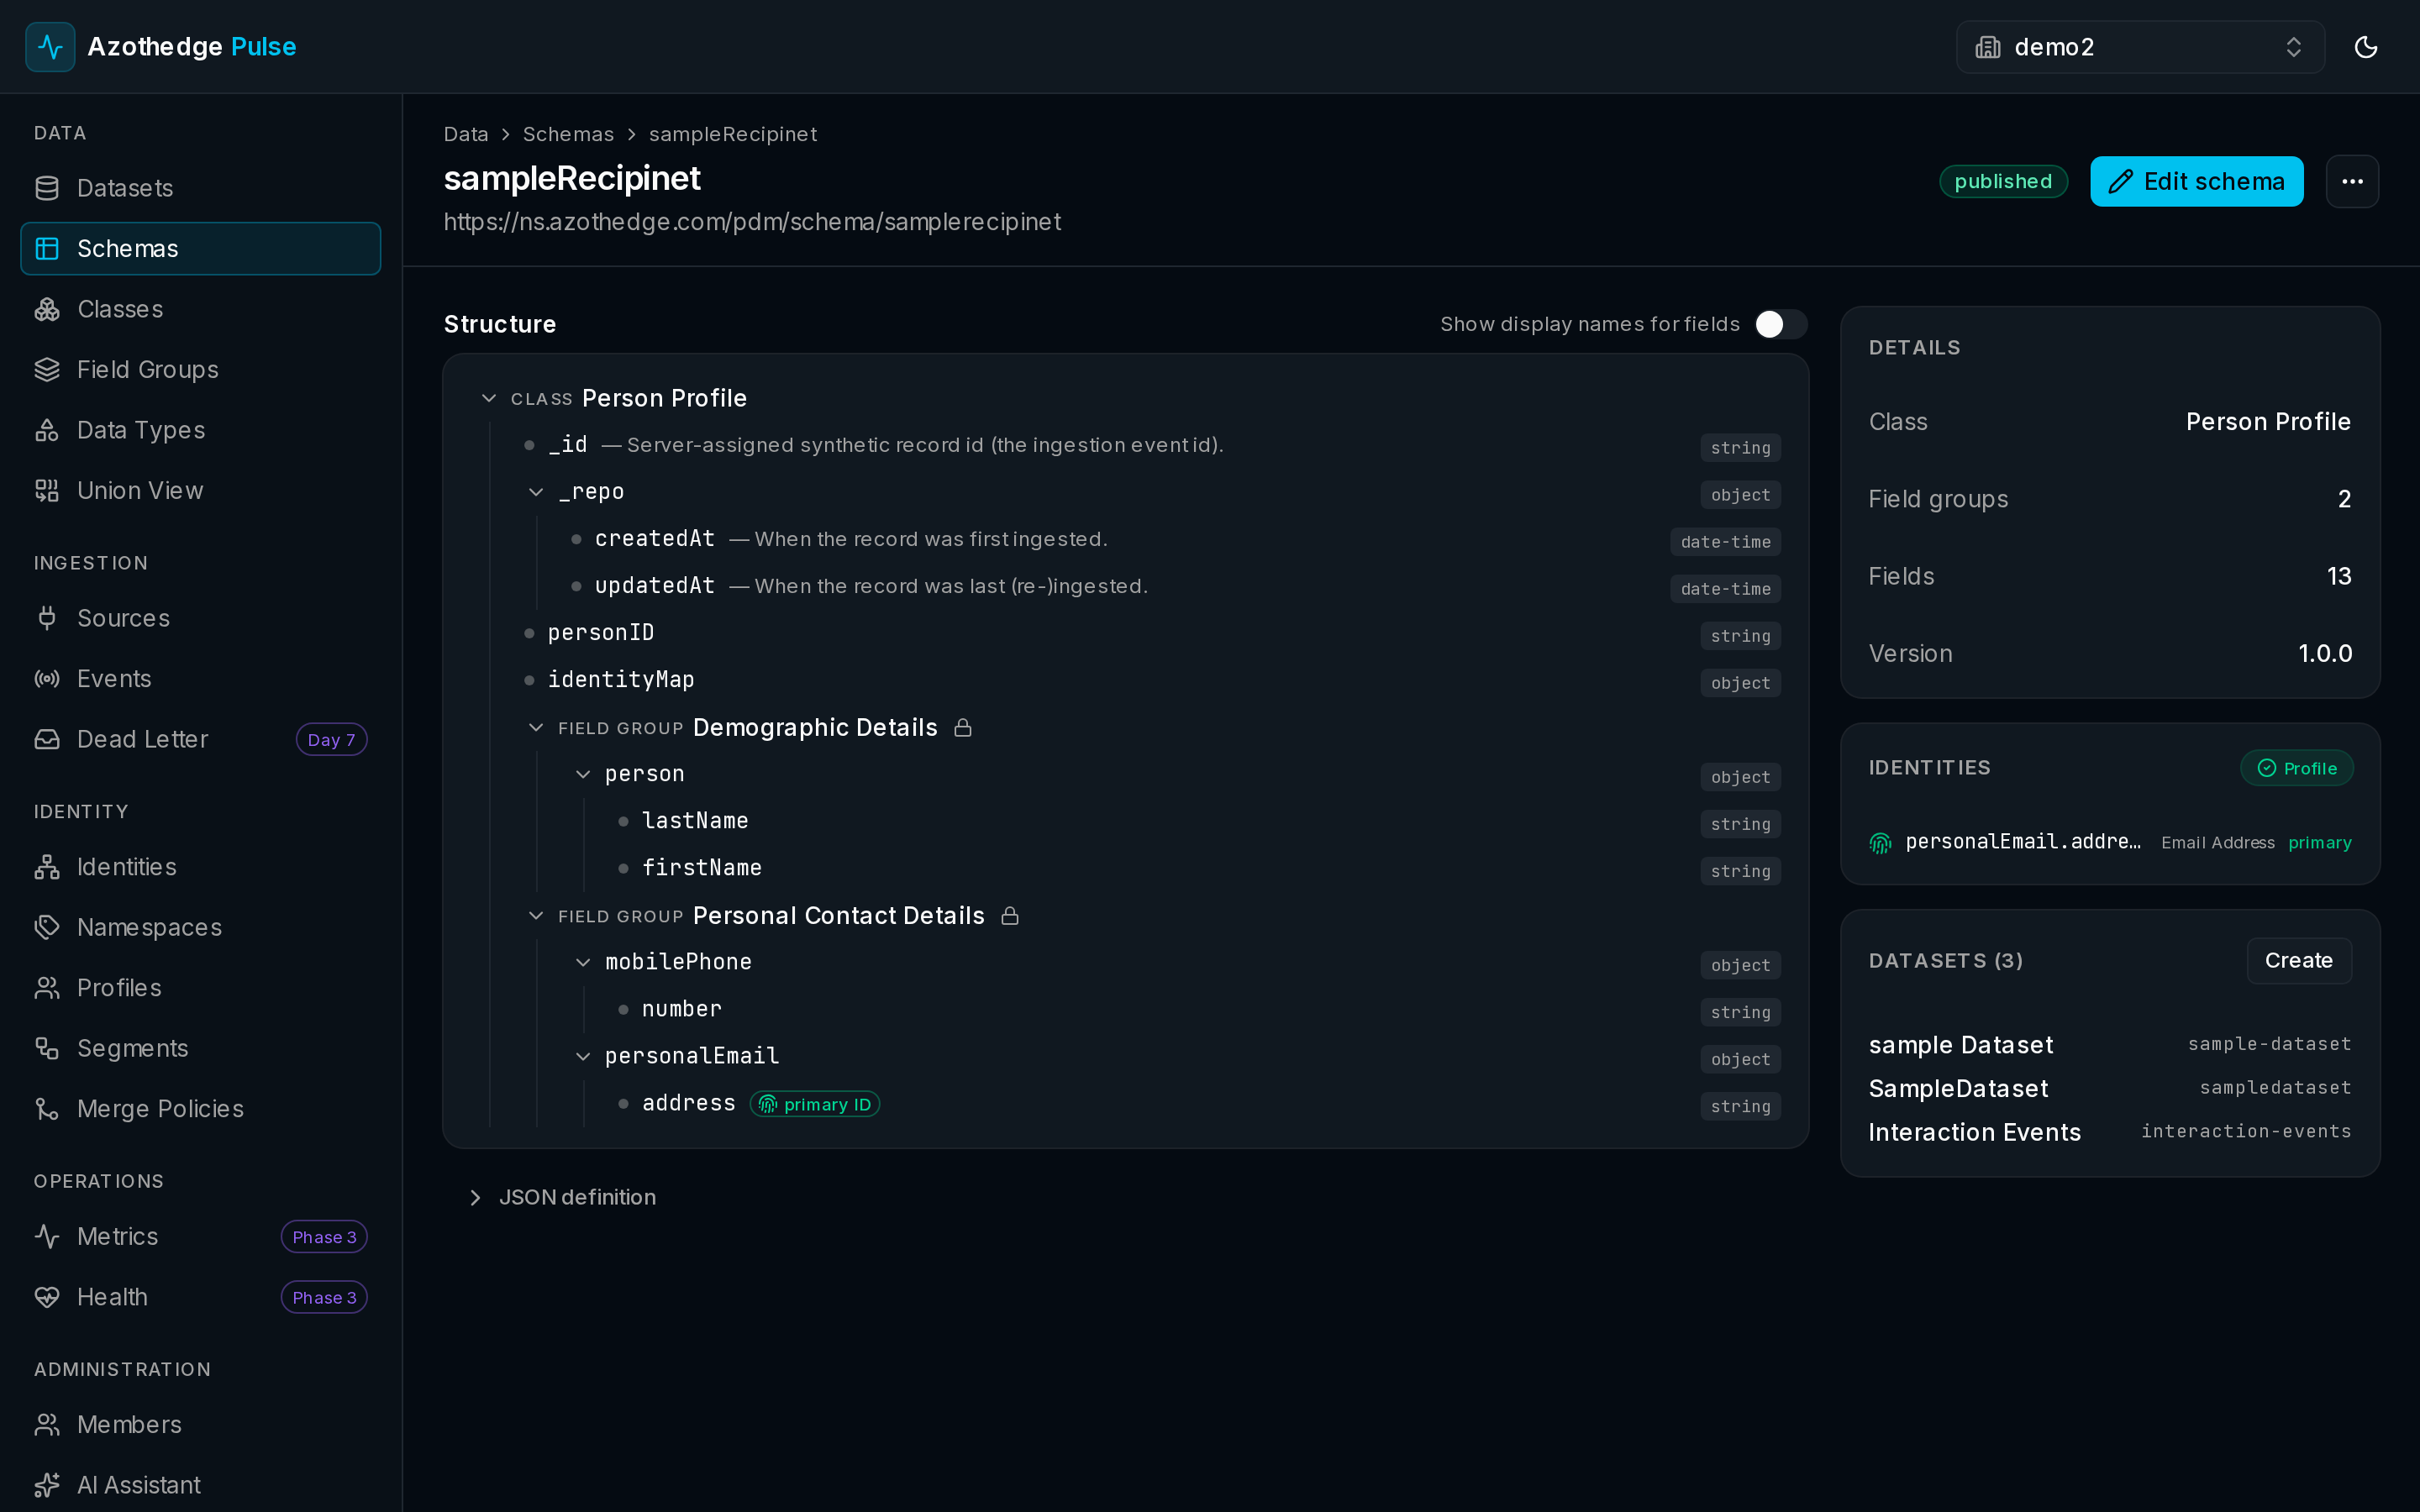
Save and publish
When the schema looks right, save it. Newly saved schemas are published and ready to use.
Published schemas are protected
Once a schema is published it's locked, so the data already described by it stays consistent. You can still add new fields at any time — you just can't remove or change the existing ones.
Create a dataset from your schema
With your schema published, create a dataset from it so your records have somewhere to land.
- From your schema, choose to create a dataset.
- Give the dataset a name and save it.
Your records can now flow into that dataset and be validated against the schema you built.
Next steps
-
Manage your dataset
Preview your records, add tags, and enable the dataset to build profiles.
-
How the data model works
Understand classes, field groups, and how they fit together.